
Once we made the move from a diesel RV with air suspension to a gas RV with leaf springs, we felt like the addition of beefier anti-sway bars would help to improve the ride a bit. Our new motorhome felt a little like a boat on uneven roads. There’s a reason Kerensa doesn’t do a lot of boat dives with me and she was having the same issues with the new ride. We called up our friends at Roadmaster and discussed what would be best for our RV. They shipped us a new anti-sway bar to replace the existing front anti-sway bar and a new rear anti-sway bar to supplement the existing one. I spoke with Roadmaster about whether or not I should try to install these myself. They said that it can be done but having an RV lift would make things easier. Being the cheap manly man I am, I decided to go ahead and give it a try. Once we got all the parts and tools together we got to work installing the Anti-Sway bars while we were boondocking in the desert with some friends.
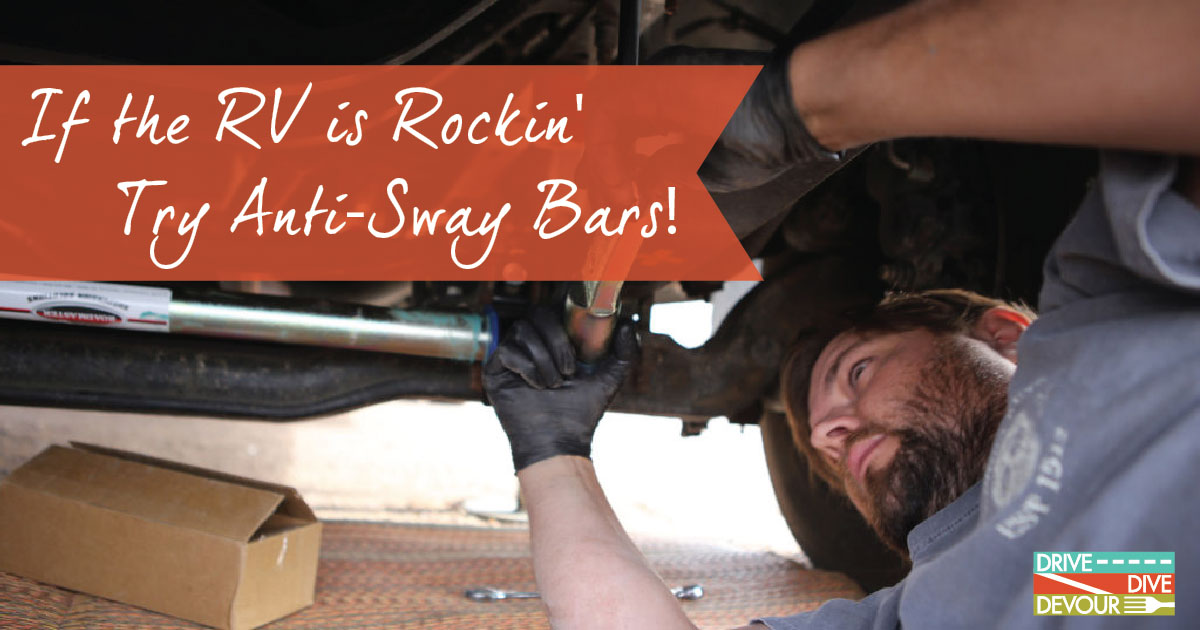
First of all, Why do you even need anti-sway bars?
Anti-sway bars exist to help resist the tendency of a vehicle to sway from side to side while you are driving. On a large top-heavy vehicle like a motorhome, they are necessary to keep the rv from swinging uncontrollably from the left side to the ride side as you go down the road. This is especially noticeable in high winds when trucks pass, or if you need to make a quick maneuver. Motorhomes come with anti-sway bars from the factory, but a lot of the times they just aren’t strong enough for a comfortable and predictable ride once the motorhome is loaded down with gear. Larger and stronger anti-sway bars will do a better job resisting side to side movement and can help improve handling in this respect. It’s worth noting that if you have front to back bouncing, also known as porpoising, that anti-sway bars don’t help this.
I thought installing these while we were out in the desert with friends would be best. We wouldn’t upset any campground managers by doing mechanical work in their park and we have friends with varied knowledge, tools, and expertise to help. Here you can see Marshall of FindingMarshall.com supervising and I’m sure making some remarks about how I’m doing it wrong. Also in attendance were Josh from ArdentCamper.com checking to see if this is a project he wants to attempt on his RV and Eric from JenericRamblings.com standing by prepared to offer one of his many power tools for the project. At the bottom, you see me in a pose that I would spend a lot of time in over the next couple of days.

Marshall describing the benefits of a properly installed Anti-Sway bar to his audience.
The install for the front anti-sway bar was pretty straightforward and went just according to plan. For our particular chassis, you remove the existing anti-sway bar and replace it with the new larger diameter anti-sway bar. Because of the increase in diameter, you will also replace the bushings with larger and nicer bushings and brackets from the Roadmaster kit. The bushings are lubed, put into place, and then everything is tightened down with new hardware from the anti-sway bar kit.

Removing the existing anti-sway bar using a breaker bar and a pipe over the handle for additional leverage.
To remove the anti-sway bar, I needed a long breaker bar. In addition, I slipped a piece of pipe over the end to extend it a bit further. Fortunately, my fellow nomads had these on hand. There isn’t a lot of room to work between the motorhome and ground, so getting leverage on some of the bolts can be tricky.

The new anti-sway bar and bushings at the top with the old one at the bottom.

Greasing the bushings with the included grease. I thought wearing gloves would keep me from getting it on myself. I was wrong.
When installing the new bar, it’s best to have someone else under the RV to help you lift the heavy bar into place while you get the brackets installed.

Eric and Josh helped underneath. I think Marshall is still supervising.

Once you have the bar in place it’s a simple matter of bolting it back up and torquing everything to the proper specifications.

The front anti-sway Bar installed.
After success with the front anti-sway bar, I was ready to tackle the more complicated install on the rear anti-sway bar.
Once I got down underneath the RV I found a problem that I hadn’t noticed before. The existing rear anti-sway bar on our Ford chassis was missing one of the brackets that holds the bushing in place. This effectively made the anti-sway bar useless. I didn’t notice this when we bought the RV and the bushing bracket could have been missing since then. Because of this, we really don’t have a good bearing on how bad it really was before our upgrade. It’s a possibility that if we had just replaced that bracket, it could have made a large enough difference that we didn’t need the additional anti-sway bars. I am pretty sure, though, that I would have still gone with the additional anti-sway bars on this chassis.
In my research, I found that it is somewhat common for the rear anti-sway bar bushing brackets to come loose on the F-53 Ford Chassis. I was able to easily tighten up the other side because it had started to work itself loose as well. I had to drive to a nearby town to try and find this bushing bracket. They didn’t have it in stock, but they would have it the next day, so I decided to go ahead and continue with the install and come back to this once I had the part.
The first step on the install is to mount the plates that hold the new anti-sway bar. To do this, you have to remove the large nuts on the u-bolts that connect the rear axle to the RV. This is scary for obvious reasons, but the weight of the RV is sitting on the axle and we were level with no risk of the RV shifting. The passenger side went fairly well. These are large nuts tightened to almost 300ft/lb so they take a lot of work to get them off. They are also in an awkward position so it takes a bit of contortion to get enough leverage on them. This is where an air impact wrench would have been great.
The drivers side u-bolts are where my big problems began. I found one of the nuts on one of the u-bolts was cross threaded. This made the nut very difficult to get off, and meant that the u-bolt was ruined and I needed to find a replacement. Once I got the u-bolt off, I started calling around to find a replacement. I found a replacement about 1.5 hours away in Lake Havasu. So the next day we hopped in Rex and headed to Lake Havasu leaving behind our RV with an unbolted axle in the desert.

I tried to stay clean, but that didn’t last long.
Once we got back, I began re-assembling the driver’s side and found that the u-bolt was too short to install the additional plate needed for the Roadmaster anti-sway bar. Fortunately, though, it was long enough to reassemble the axle so we could get rolling.
I also got in the bracket for the existing rear anti-sway bar. Some of the bolts I removed from the front anti-sway bar fit this new bracket perfectly so I got that back together as well.
Now it is about 3 days after I started and I am back to where I began after the first half of the first day. My arms are sore from fighting with cross-threaded u-bolts while lying on my belly under the RV in the desert. I decided to throw in the towel while the RV was still driveable rather than risk finding another part that needed to be replaced and being stranded for longer. There is still another step of drilling holes into the frame to mount part of the anti-sway bar kit and I was quickly losing confidence in my ability to get it all done.
At this point, we left the desert boondocking spot to head back towards the coast for our next stop. We could already tell a large difference in the handling with just the new front anti-sway bar and the replaced bracket on the existing rear anti-sway bar.
I would have like to finish the job myself, but sometimes you just have to give in when you don’t have a house or garage to work on things. Overall, though, the anti-sway bar kits were nice and included all the nuts and bolts needed. If it wasn’t for the missing parts on our Ford chassis and the cross-threaded u-bolt, then I may have been able to do all of this myself while lying in the dirt in the desert.

In the end, we took our RV into the RV Specialists of San Diego for an AC repair and had them finish the rear anti-sway bar install, too. We received new u-bolts that were long enough to do the job and brought those in along with the bar and look of defeat on our faces. I think it took the service center just over and hour to do the whole rear anti-sway bar including drilling brackets into the frame. It sure looked easier with a lift and air tools.

The rear anti-sway bar installed.
After we finally got all the anti-sway bars, back into place and installed, we did notice a nice improvement in the handling. The RV will still sway when we hit a bump under one side of the axle or if a gust of wind hits it hard, but it’s much more predictable now and it ends quickly. I used to have to let off the gas a bit to let the sway calm down, but now I can keep the cruise control on and feel comfortable with the ride.
After experiencing the very twisty Highway 20 to Fort Bragg, CA in both the SUV and RV, I am convinced that the sway bars saved my stomach. I had no problems in the RV on the way there and it was a pleasant, pretty drive. When we drove back through in the SUV, I experienced strong motion sickness. I much preferred the RV handling and will now sing the praises of new, heavy-duty sway bars to anyone experiencing a little rock and rolling.
You should know:
- Air tools will make this a much easier install.
- The rear u-bolts require almost 300 ft/lb of torque. Check with your chassis manufacturer for exact specifications. I was able to get a printout of all the torque specs for our chassis from a local Ford dealer.
- I bought a cheap torque wrench off of Amazon that was supposed to work in that range, but never did work right. I guess I got what I paid for.
- Having the RV on a lift would make it easier to get leverage on the bolts.
- Never lift the RV by its jacks. Our RV is sitting on level ground and the jacks are only extended to keep it from bouncing while we are walking around inside.
- If you choose to install the sway bars, you do so at your own risk. This is not meant to be an instructional manual, but a recount of our experience only.
- Make sure you leave yourself enough time to track down parts in case you run into issues like I did!